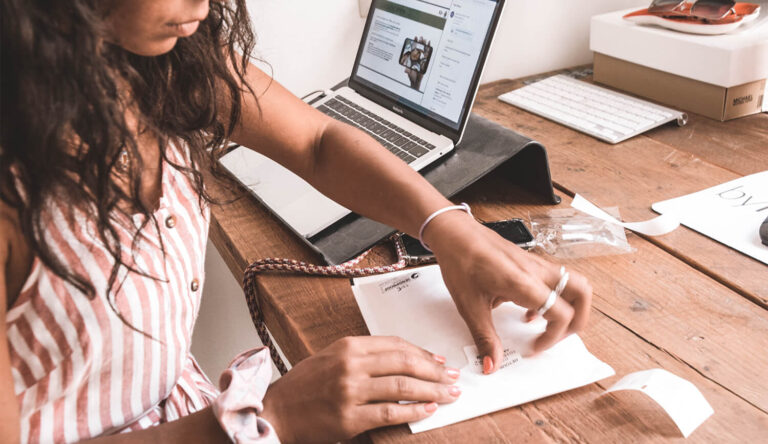
With MyParcel, you can quickly and easily create shipping labels for every product you want to send. It’s not the most exciting part of running a webshop, but it’s important! The shipping label ensures allows you to hand over your shipments at a PostNL location and have them delivered to the right recipient. If your shipping label is incomplete or unscanable, there’s a high chance your shipments will be delayed or cannot be delivered at all. That’s something you want to avoid. Instructions on how to create a shipping label through MyParcel complete with all the required information is available on this page. To find out how you set your printer or label printer settings so that your shipping labels are always fully scanable when printed, read on!
Settings for printing shipping labels using your own printer.
Using your own printer, you can print four labels on one side of A4 – you don’t have to buy a separate label printer. Handy, right? How does it work? Follow the steps below to create online labels.
- Download Adobe Acrobat Reader (free).
- Open your MyParcel shipping labels with Adobe Acrobat Reader.
- Configure printer settings to ‘Fit’ and ‘Auto portrait/landscape’.
- Click ‘Print’ to print the shipping label and stick it onto your parcel.

Settings for printing shipping labels using a label printer.
PostNL’s shipping labels for Dutch and European shipments have an A6 format (10x15cm). The easiest way to print your shipping labels is by using a label printer. This is particularly useful if you need to send a lot of shipments, as it is a more efficient method. You can print A6-size shipping labels using multiple label printers. Below you will find examples of two printers we recommend.
Tip! Need labels, packaging, tape or other shipping materials? Our webshop has a wide range of shipping materials that you can use to ship your products – it’s safe and hassle-free! Click here to go to the webshop.
Settings for printing shipping labels using a Dymo label printer.
- Download the labels from your own MyParcel account and open them using Adobe Acrobat Reader.
- Before printing, check the following settings: ‘Fit’ and ‘Auto portrait/landscape’.
- If the format is incorrect, go to ‘Page Setup’ and adjust it.
- Select the correct printer (label printer) and paper size. You can manually set this to 4″x6″. This selection is called 1744907 4 in x 6 in.
- Click ‘Save’ and print the label.
Settings for printing shipping labels using a Zebra label printer.
If you are using Windows, select a Zebra GK420D label printer or Zebra GK420T label writer. Before printing your shipping labels, make sure you adjust the printer’s default settings:
- Go to: Control panel > Hardware and Sound > Devices and Printers.
- Right-click the printer displayed, for example ‘GK420’.
- Select ‘Printing preferences’.
- Select the ‘Options’ tab.
- Configure the following settings:
- Speed: 5cm/s
- Density: 1
Creating shipping labels through MyParcel.
With MyParcel, you can create a shipping label in just a few simple steps for anything you want to send. Through our platform, you can create shipping labels manually or using your own webshop software. Information on how to do that is available here.
More information
We hope these tips will help you with printing your shipping labels and shipping your parcels. Not quite there yet or still got questions about how to print shipping labels or create a shipping label? Please contact our IT support team. We’re here to help!